Forget novelty gadgets. These are the grilling essentials that experienced backyard cooks actually recommend.
Every summer, the grilling aisle tries to convince you that you're one specialty gadget away from becoming a backyard legend. You're not. Most of what's on those shelves ends up in a drawer by August, next to the fondue set nobody asked for.
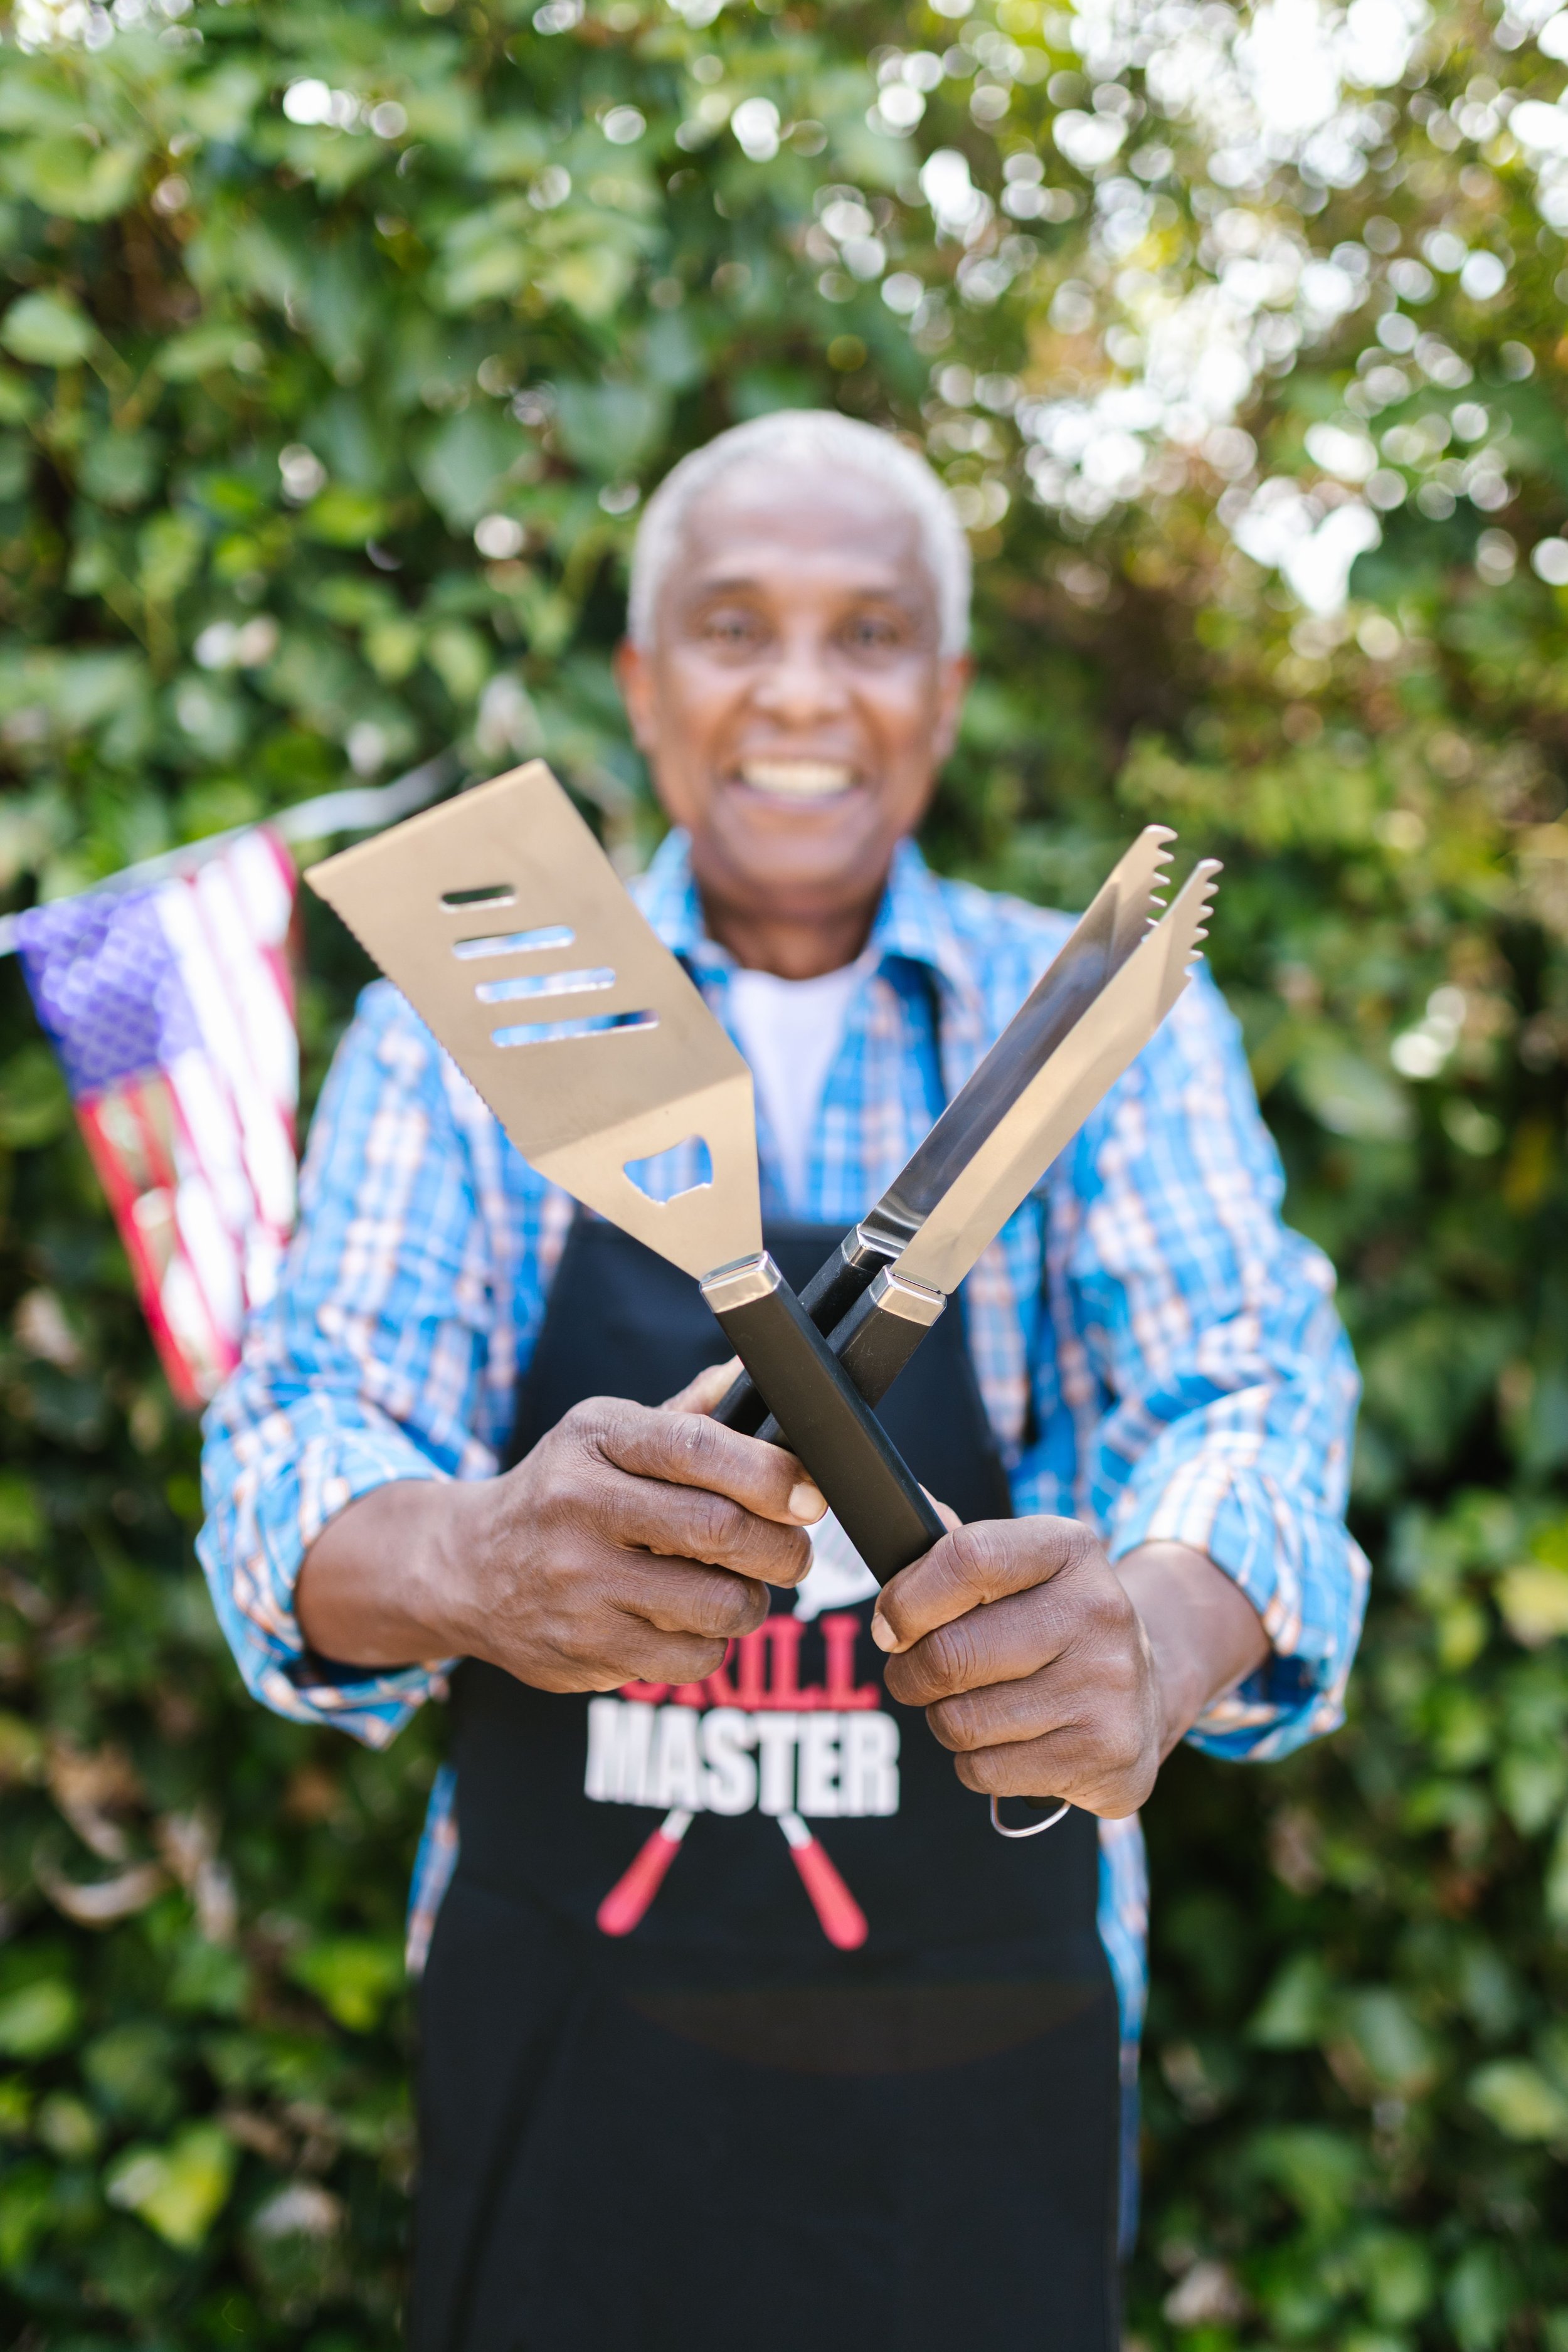
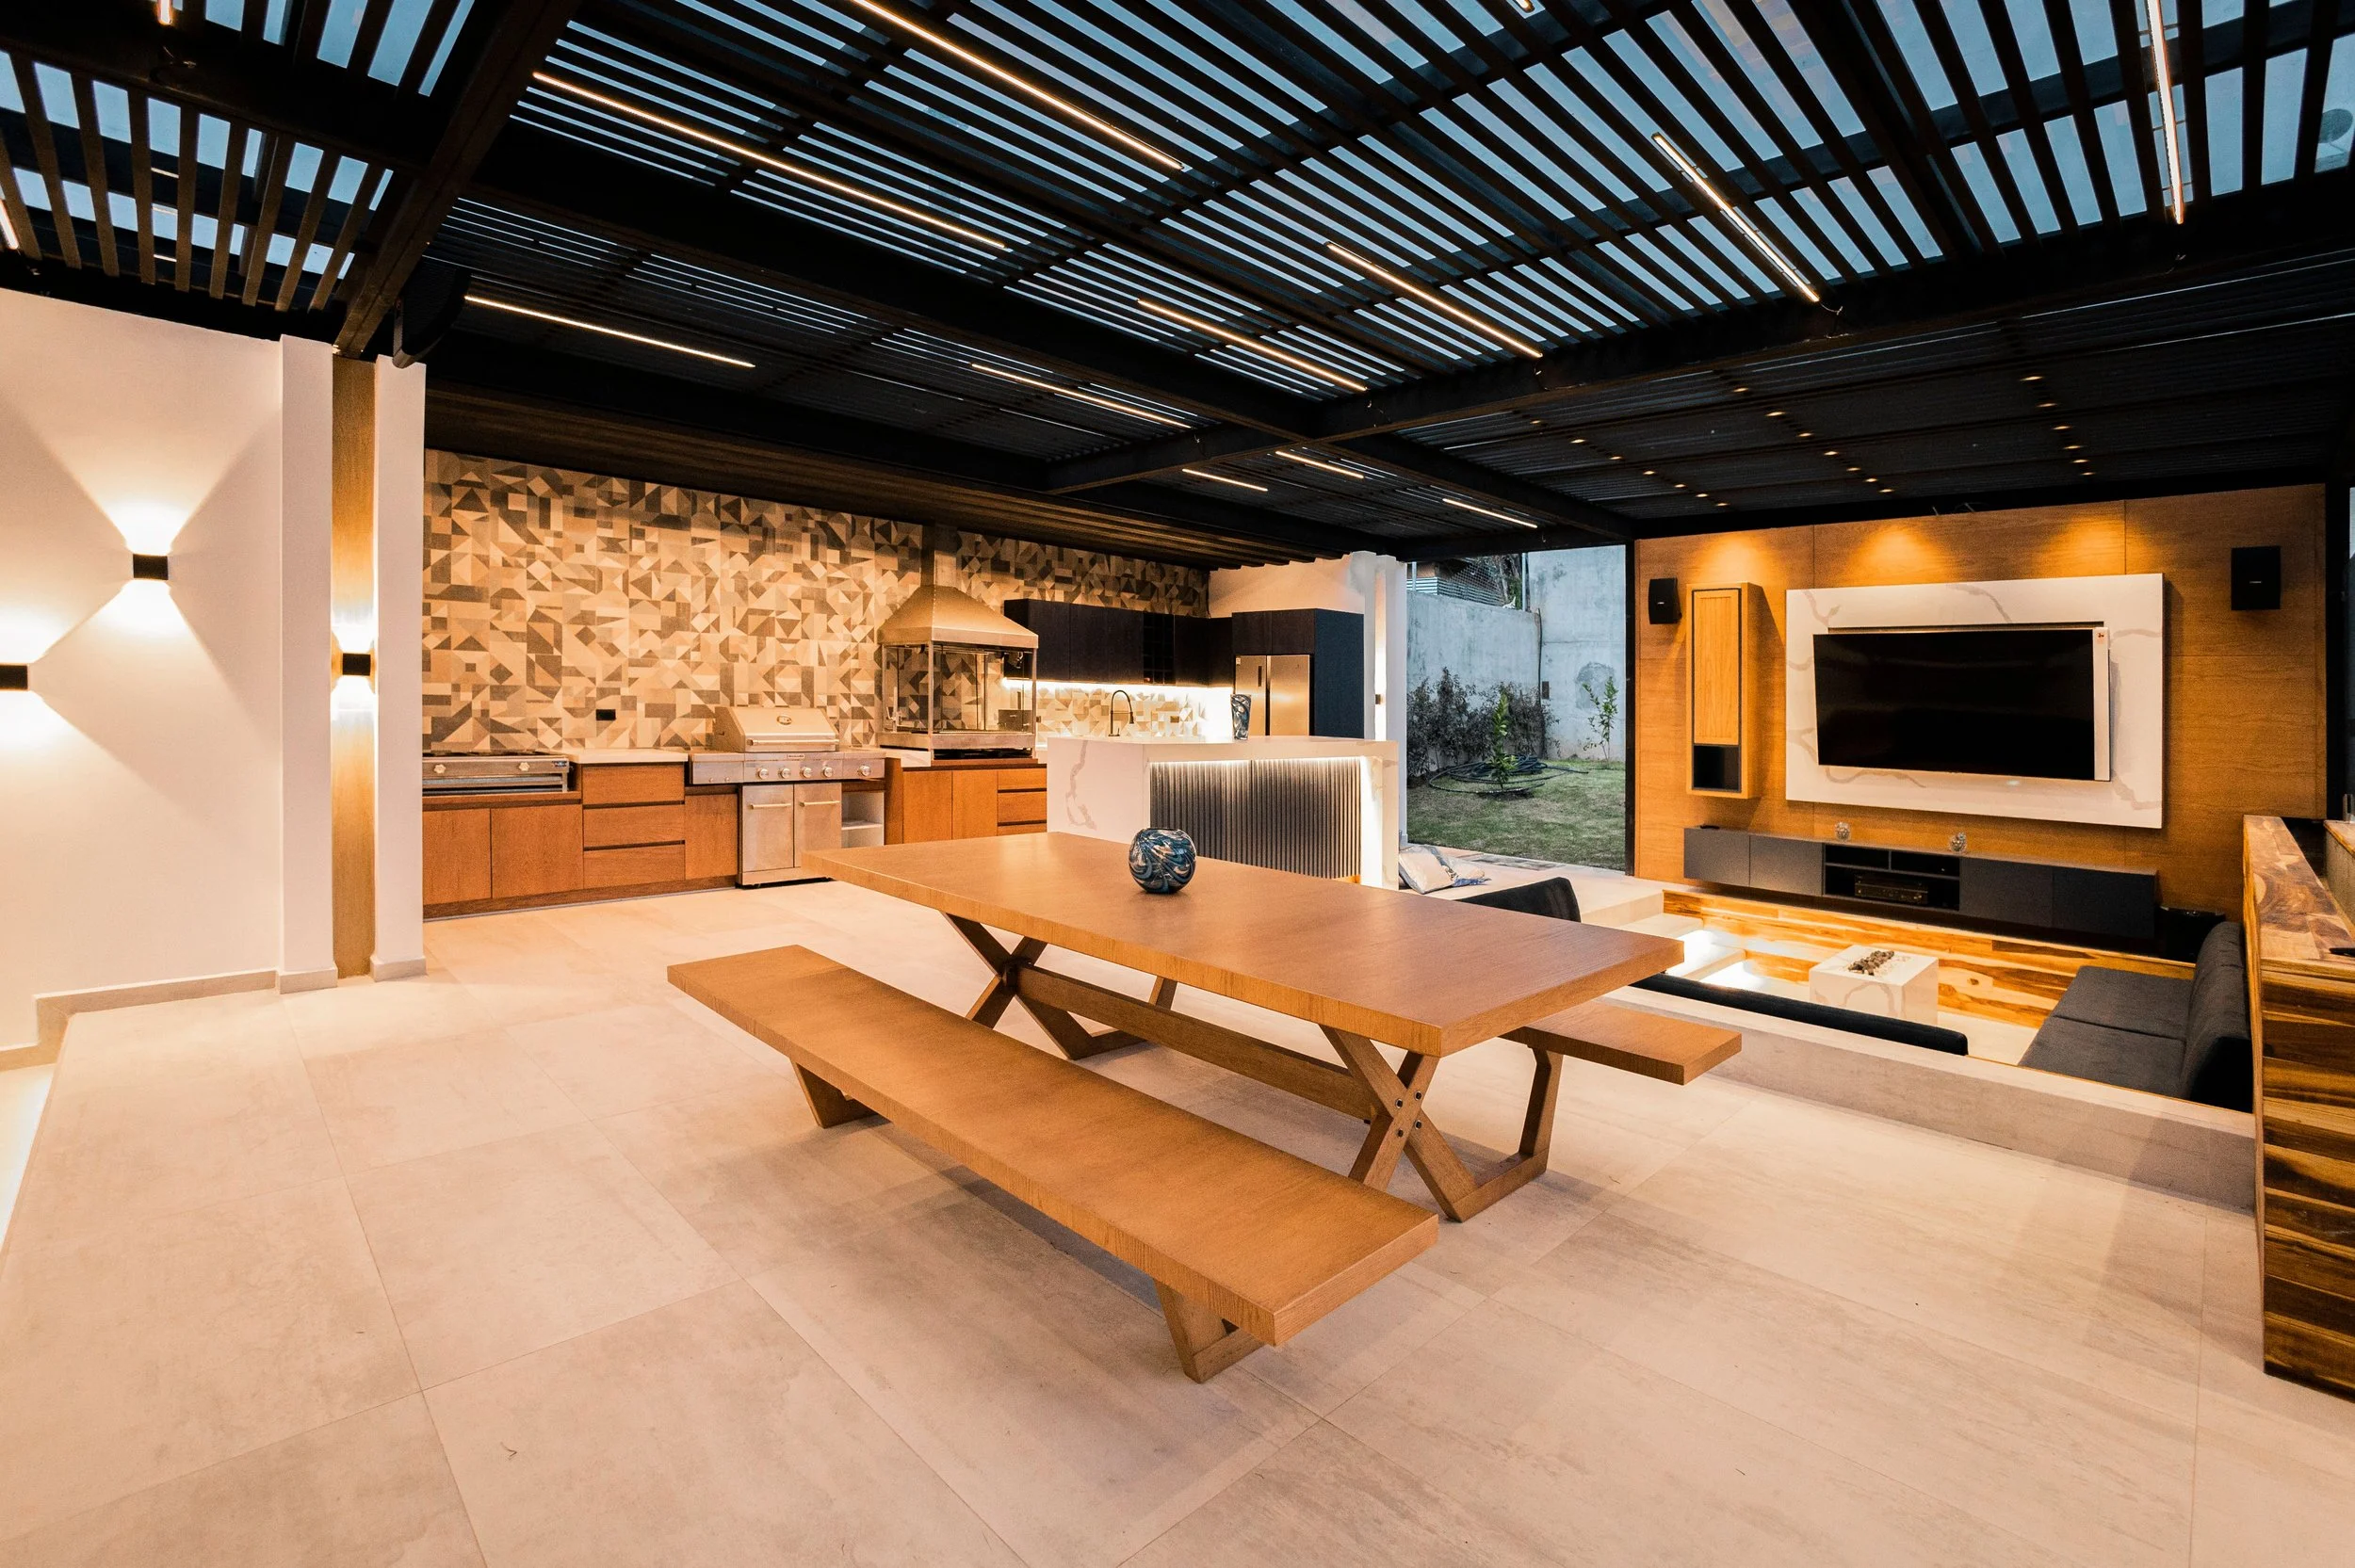
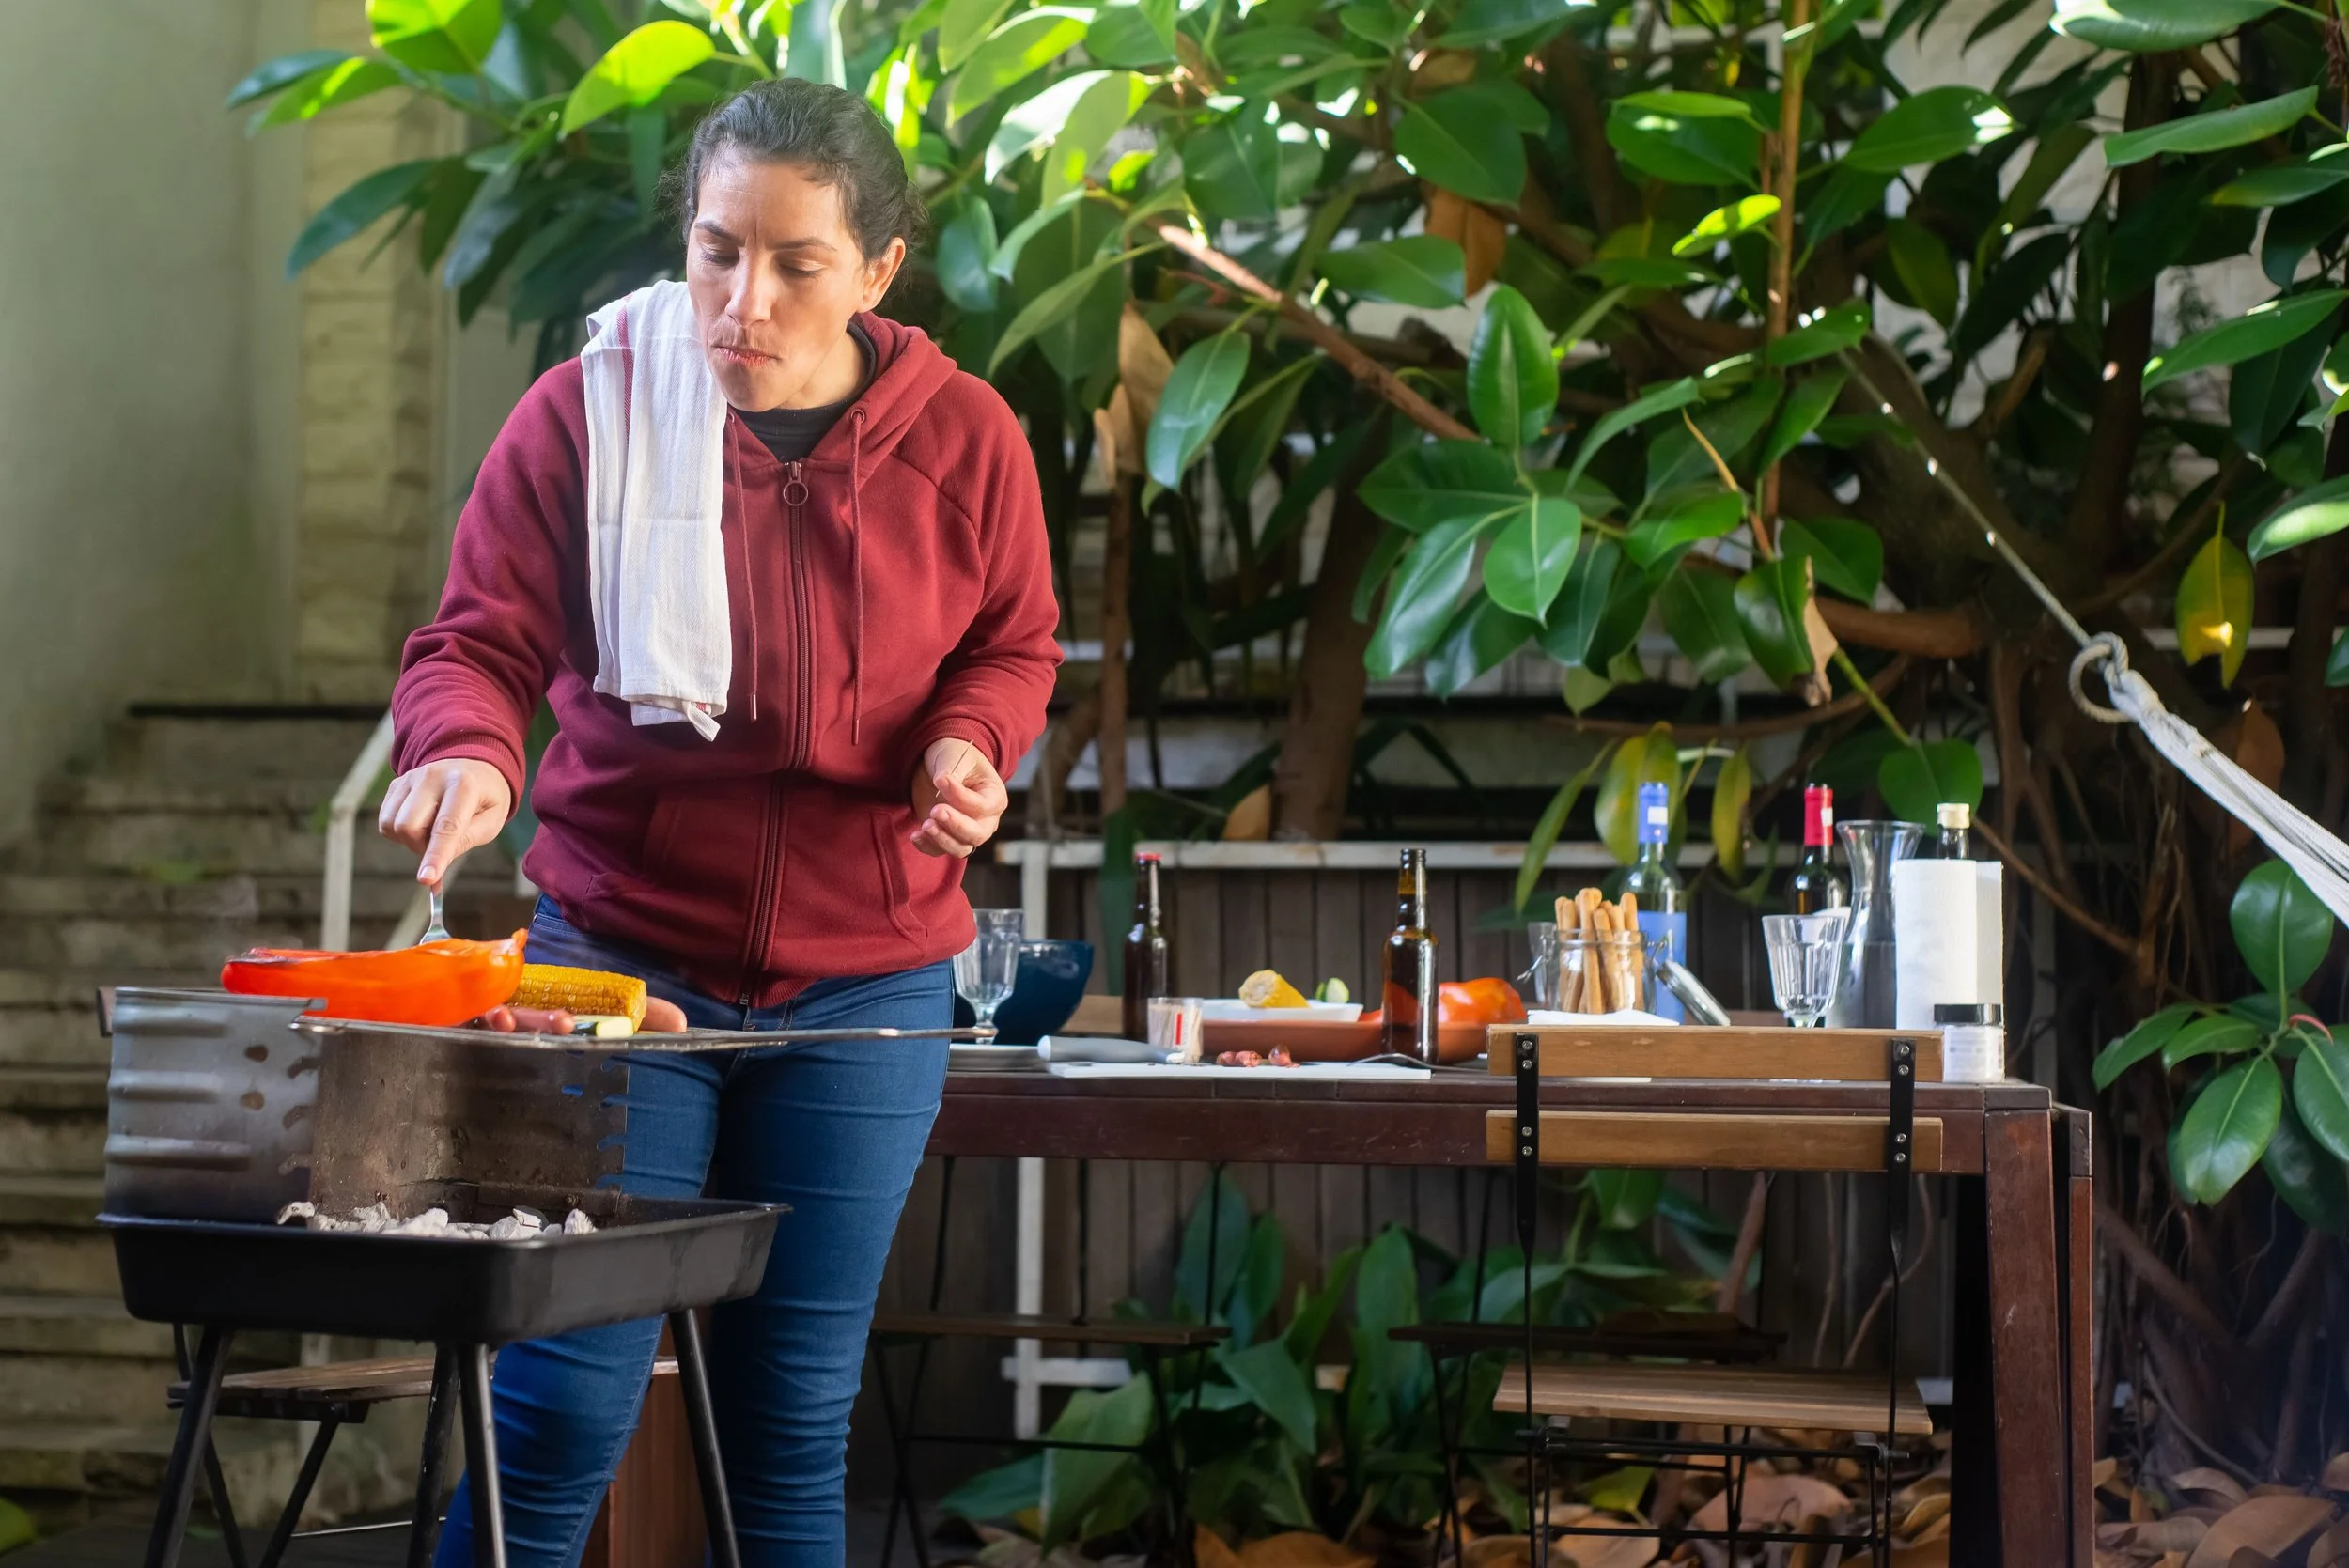
Courtesy of RDNE Stock project
But a handful of tools genuinely change how your cookouts go — less time fighting the grill, more time actually eating. After talking to pitmasters, chefs, and the kind of backyard griller who's ruined enough dinners to know better, here's what actually earns a permanent spot next to the grill.
1. A Chimney Starter
If you've ever doused charcoal in lighter fluid and still ended up with half-lit coals twenty minutes later, this fixes it. Fill it, light some newspaper underneath, wait 15–20 minutes, and you've got evenly lit coals with none of that chemical smell clinging to your food. For charcoal grills, this is the single biggest upgrade you can make, full stop.
2. A Digital Meat Thermometer
Poking a burger and guessing is how you end up with something either raw in the middle or dry enough to sand furniture. An instant-read thermometer takes ten seconds and takes the guesswork out entirely. If you're the type who likes to wander off and talk to guests instead of hovering over the grates, a wireless probe model will do the watching for you.
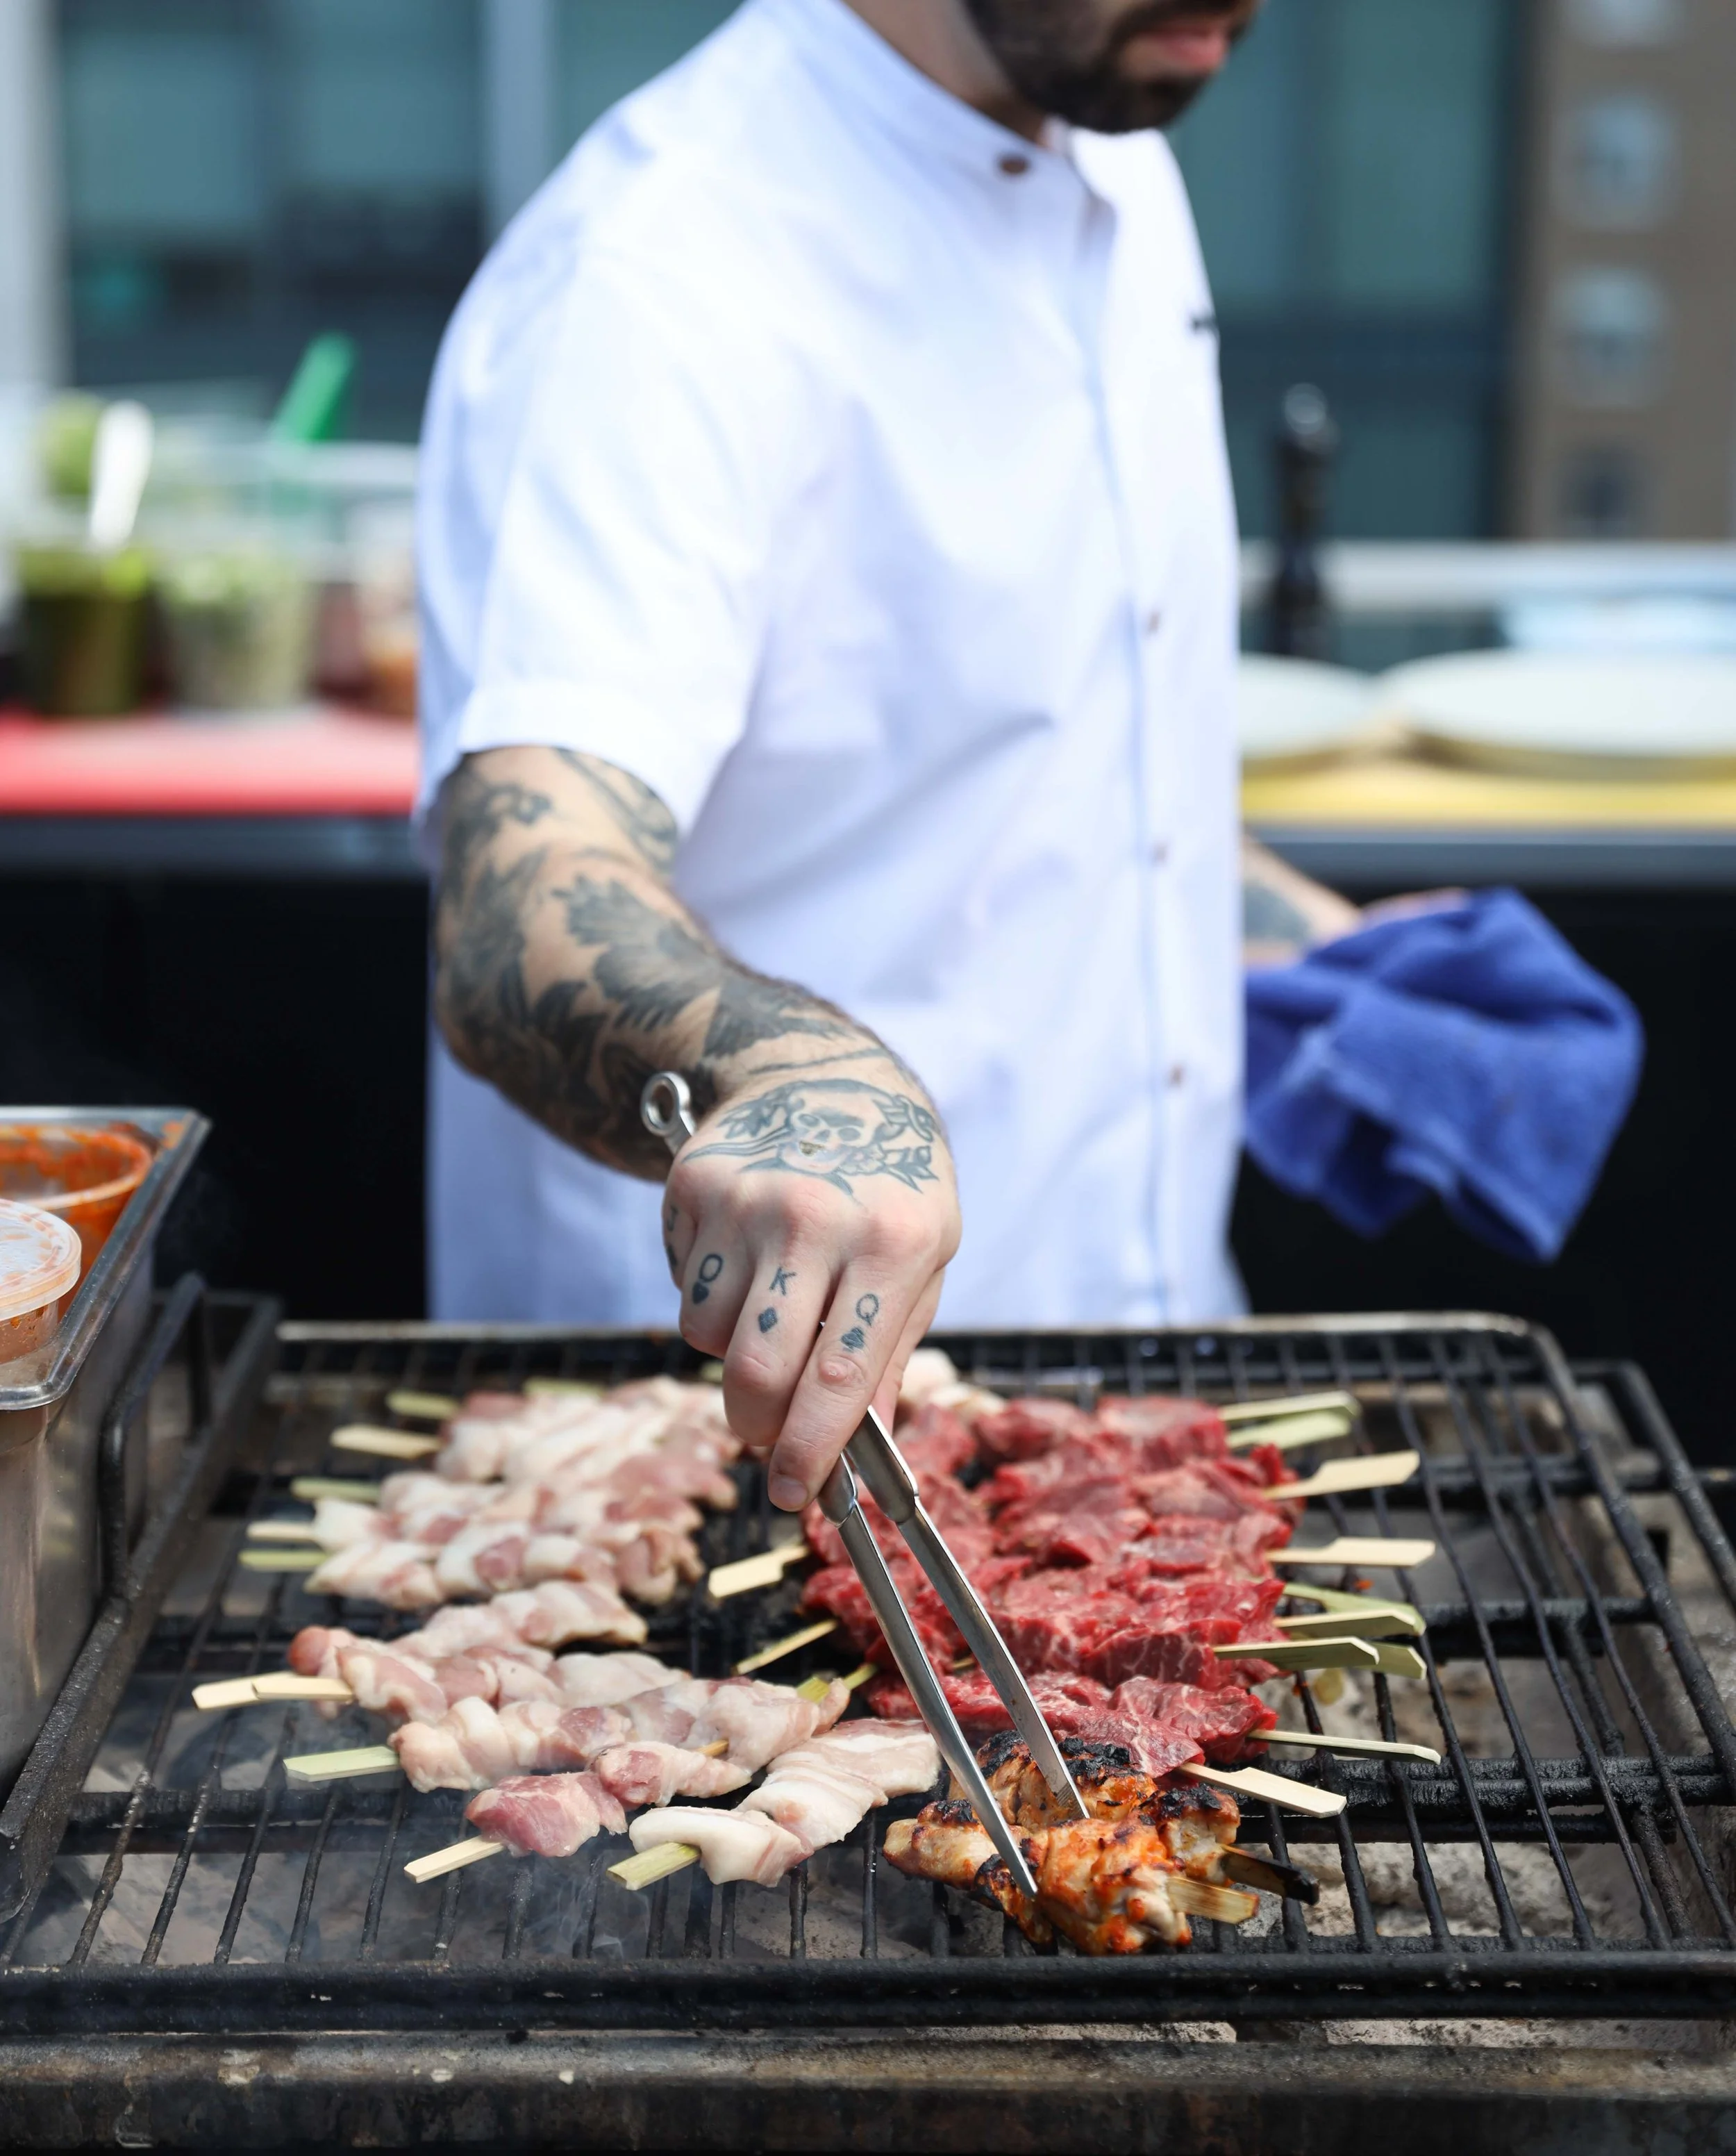
3. Long Stainless Tongs
Skip the oversized novelty tongs — the ones that look like they belong in a hardware store display. A simple, long-handled pair gives you actual control: you can feel what you're gripping, turn a steak without mangling it, and keep your hand a safe distance from the flare-ups. This is the tool you'll reach for without thinking, every single cookout.
4. Heat-Resistant Grill Gloves
You will, at some point, grab something hotter than you expected. It's not a matter of if. A solid pair of heat-resistant gloves means you can move a cast iron pan or a loaded grill basket without the involuntary hot-potato dance in front of your guests. If you're smoking anything juicy, look for a waterproof pair — the fabric kind soaks through fast and stops protecting your hands right when you need it most.
5. A Grill Basket
Shrimp, cubed potatoes, sliced vegetables — anything small enough to vanish through the grates will find the one gap and disappear into the coals. A grill basket solves that without you having to thread everything onto skewers, which, let's be honest, nobody actually enjoys doing at 6pm with hungry people waiting.
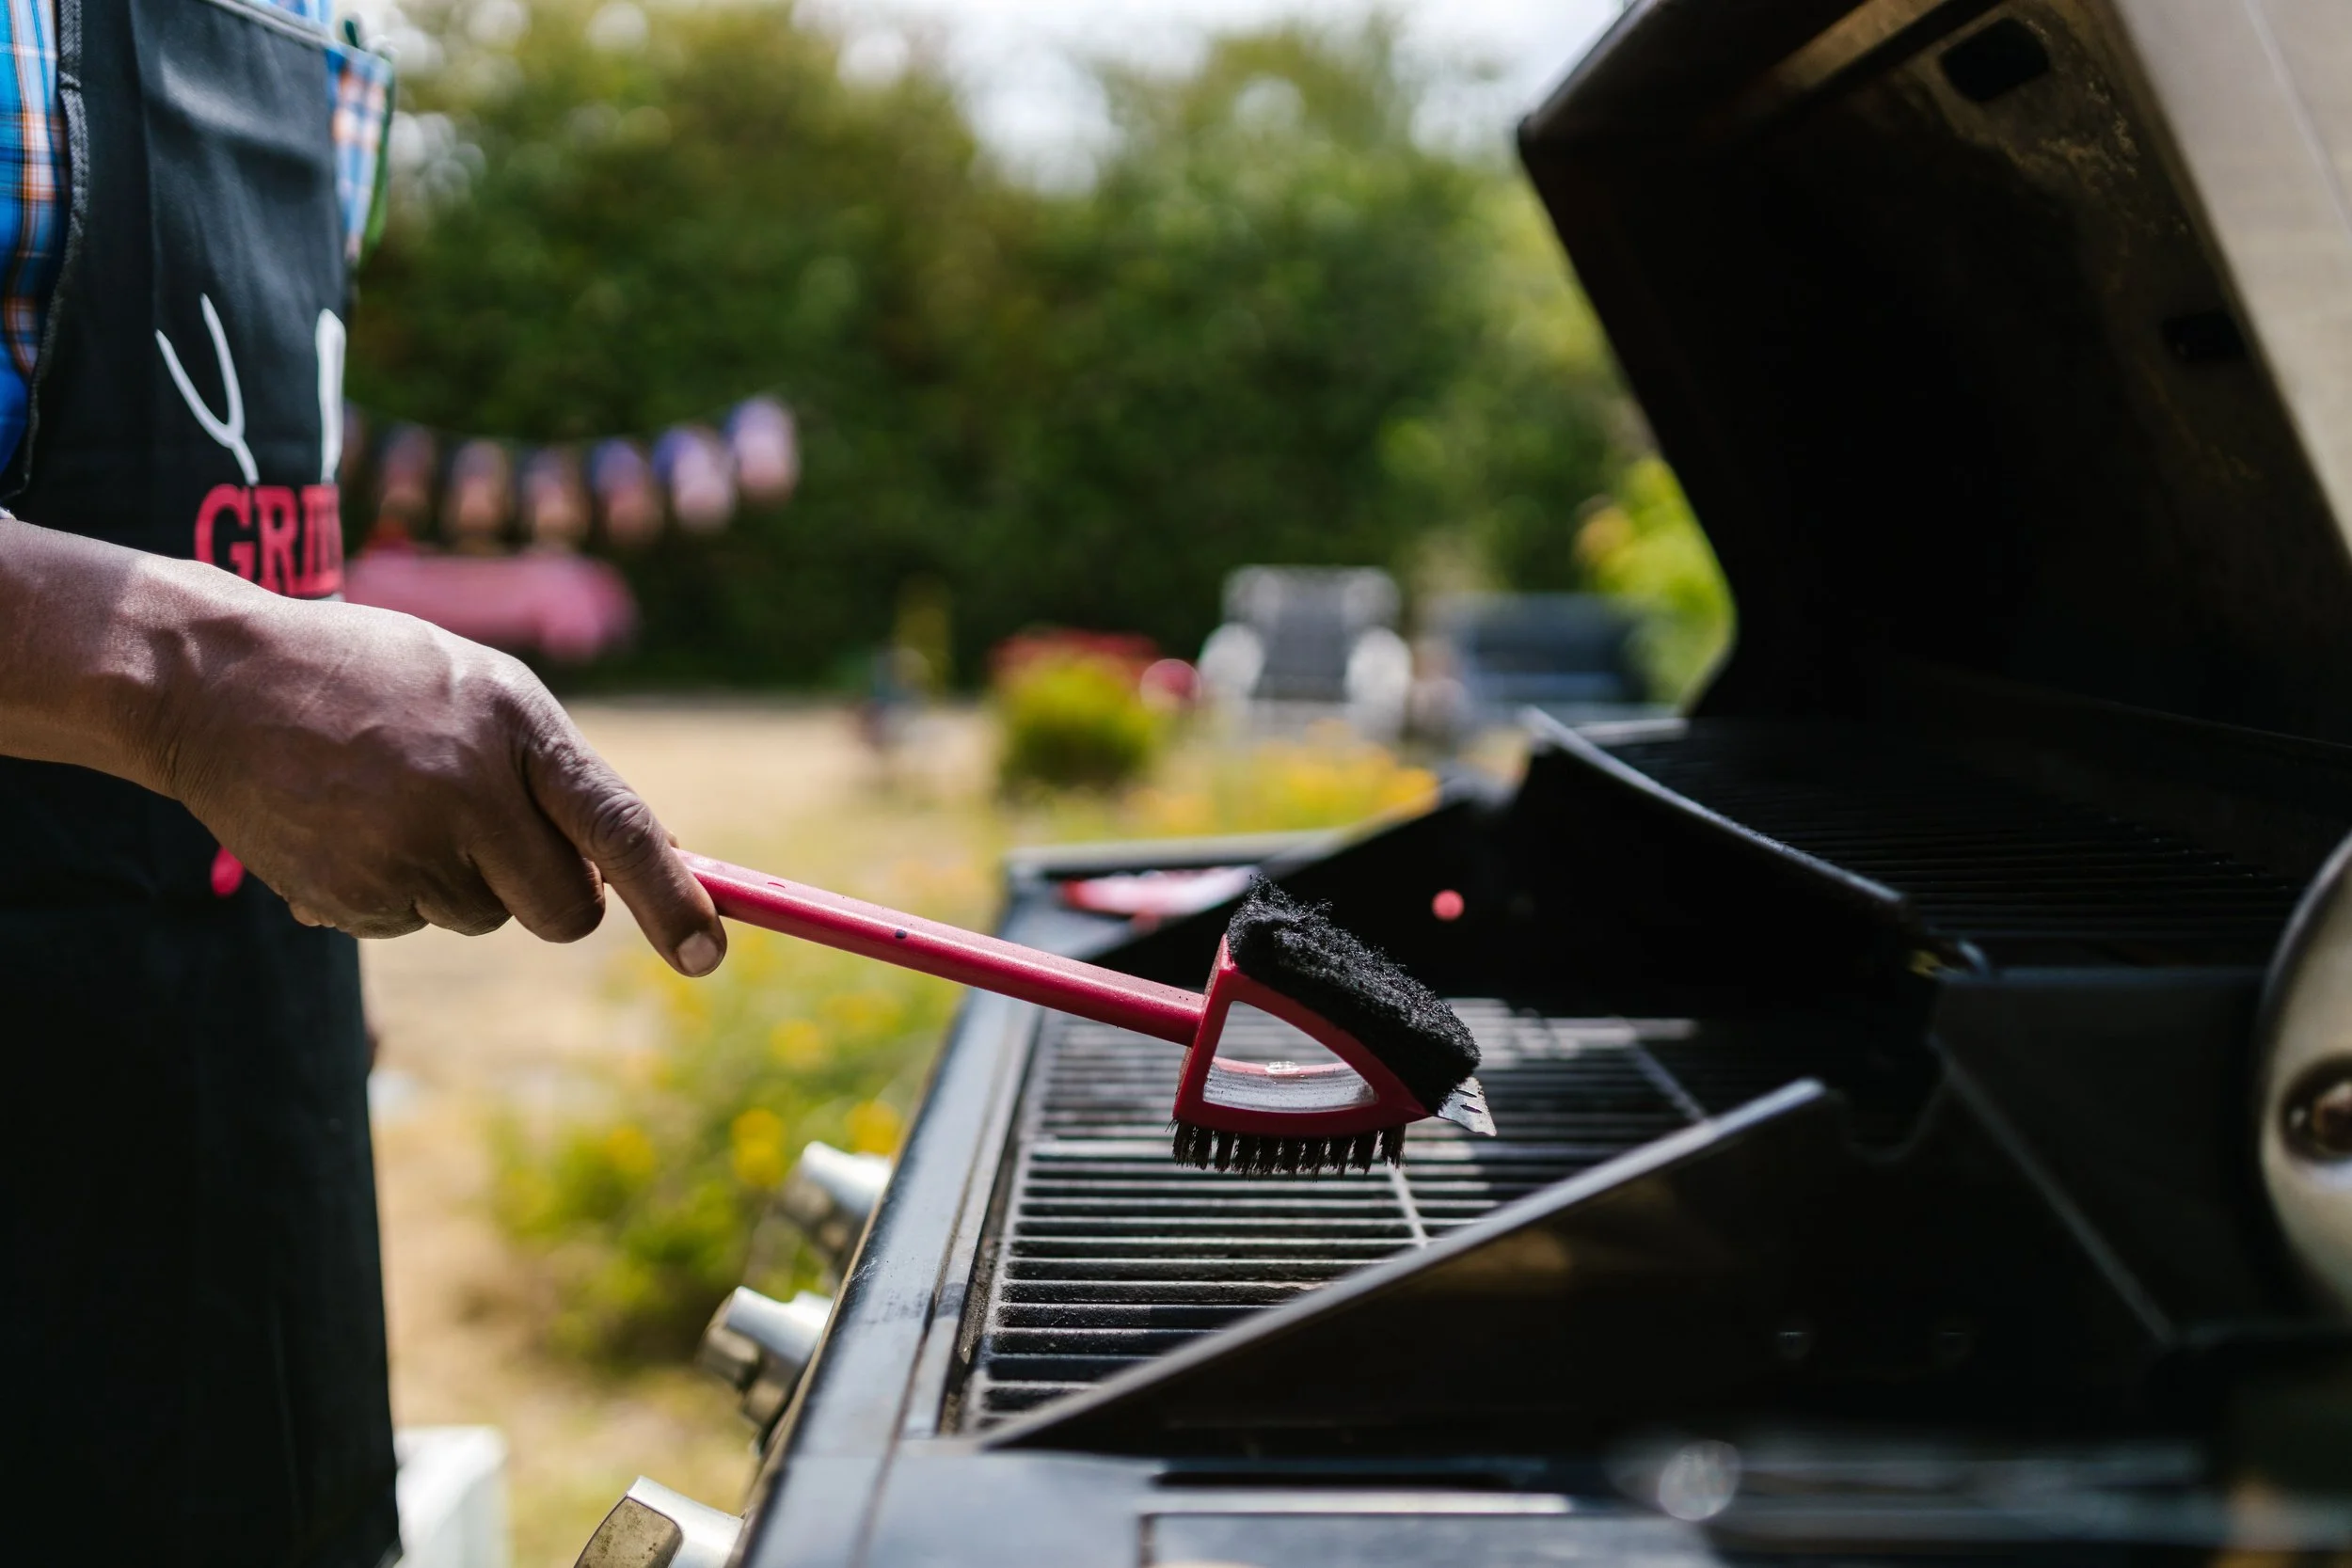
6. A Grill Brush — Just Not the Wire Kind
Nobody wants tonight's chicken tasting like last week's salmon. Clean the grates while they're still warm, before anything has a chance to bake on. One note worth taking seriously: skip traditional wire-bristle brushes. Loose bristles can break off and end up somewhere you really don't want them. Chainmail cleaners, bristle-free brushes, or a grill stone do the job without the risk.
7. Disposable Foil Trays
These aren't glamorous, but they're the tool you'll use without thinking about it — catching drippings, holding prepped vegetables, hauling food to and from the table. Cheap, disposable, and one less serving dish you have to scrub after everyone's gone home.
8. A Basting Brush
Sugar-based barbecue sauce burns fast, and there's a narrow window where it goes from glossy to blackened. A dedicated basting brush lets you apply it evenly in those last few minutes instead of dumping it on and hoping. Some models come with a covered container, which keeps bugs out of your sauce — a small thing until it isn't.
9. A Real Towel, Within Arm's Reach
Least exciting tool on this list. Probably the one you'll use the most. Greasy hands, spills, condensation off a cold drink — a sturdy towel handles all of it without a trip back inside every ten minutes.
None of this requires a shopping spree.
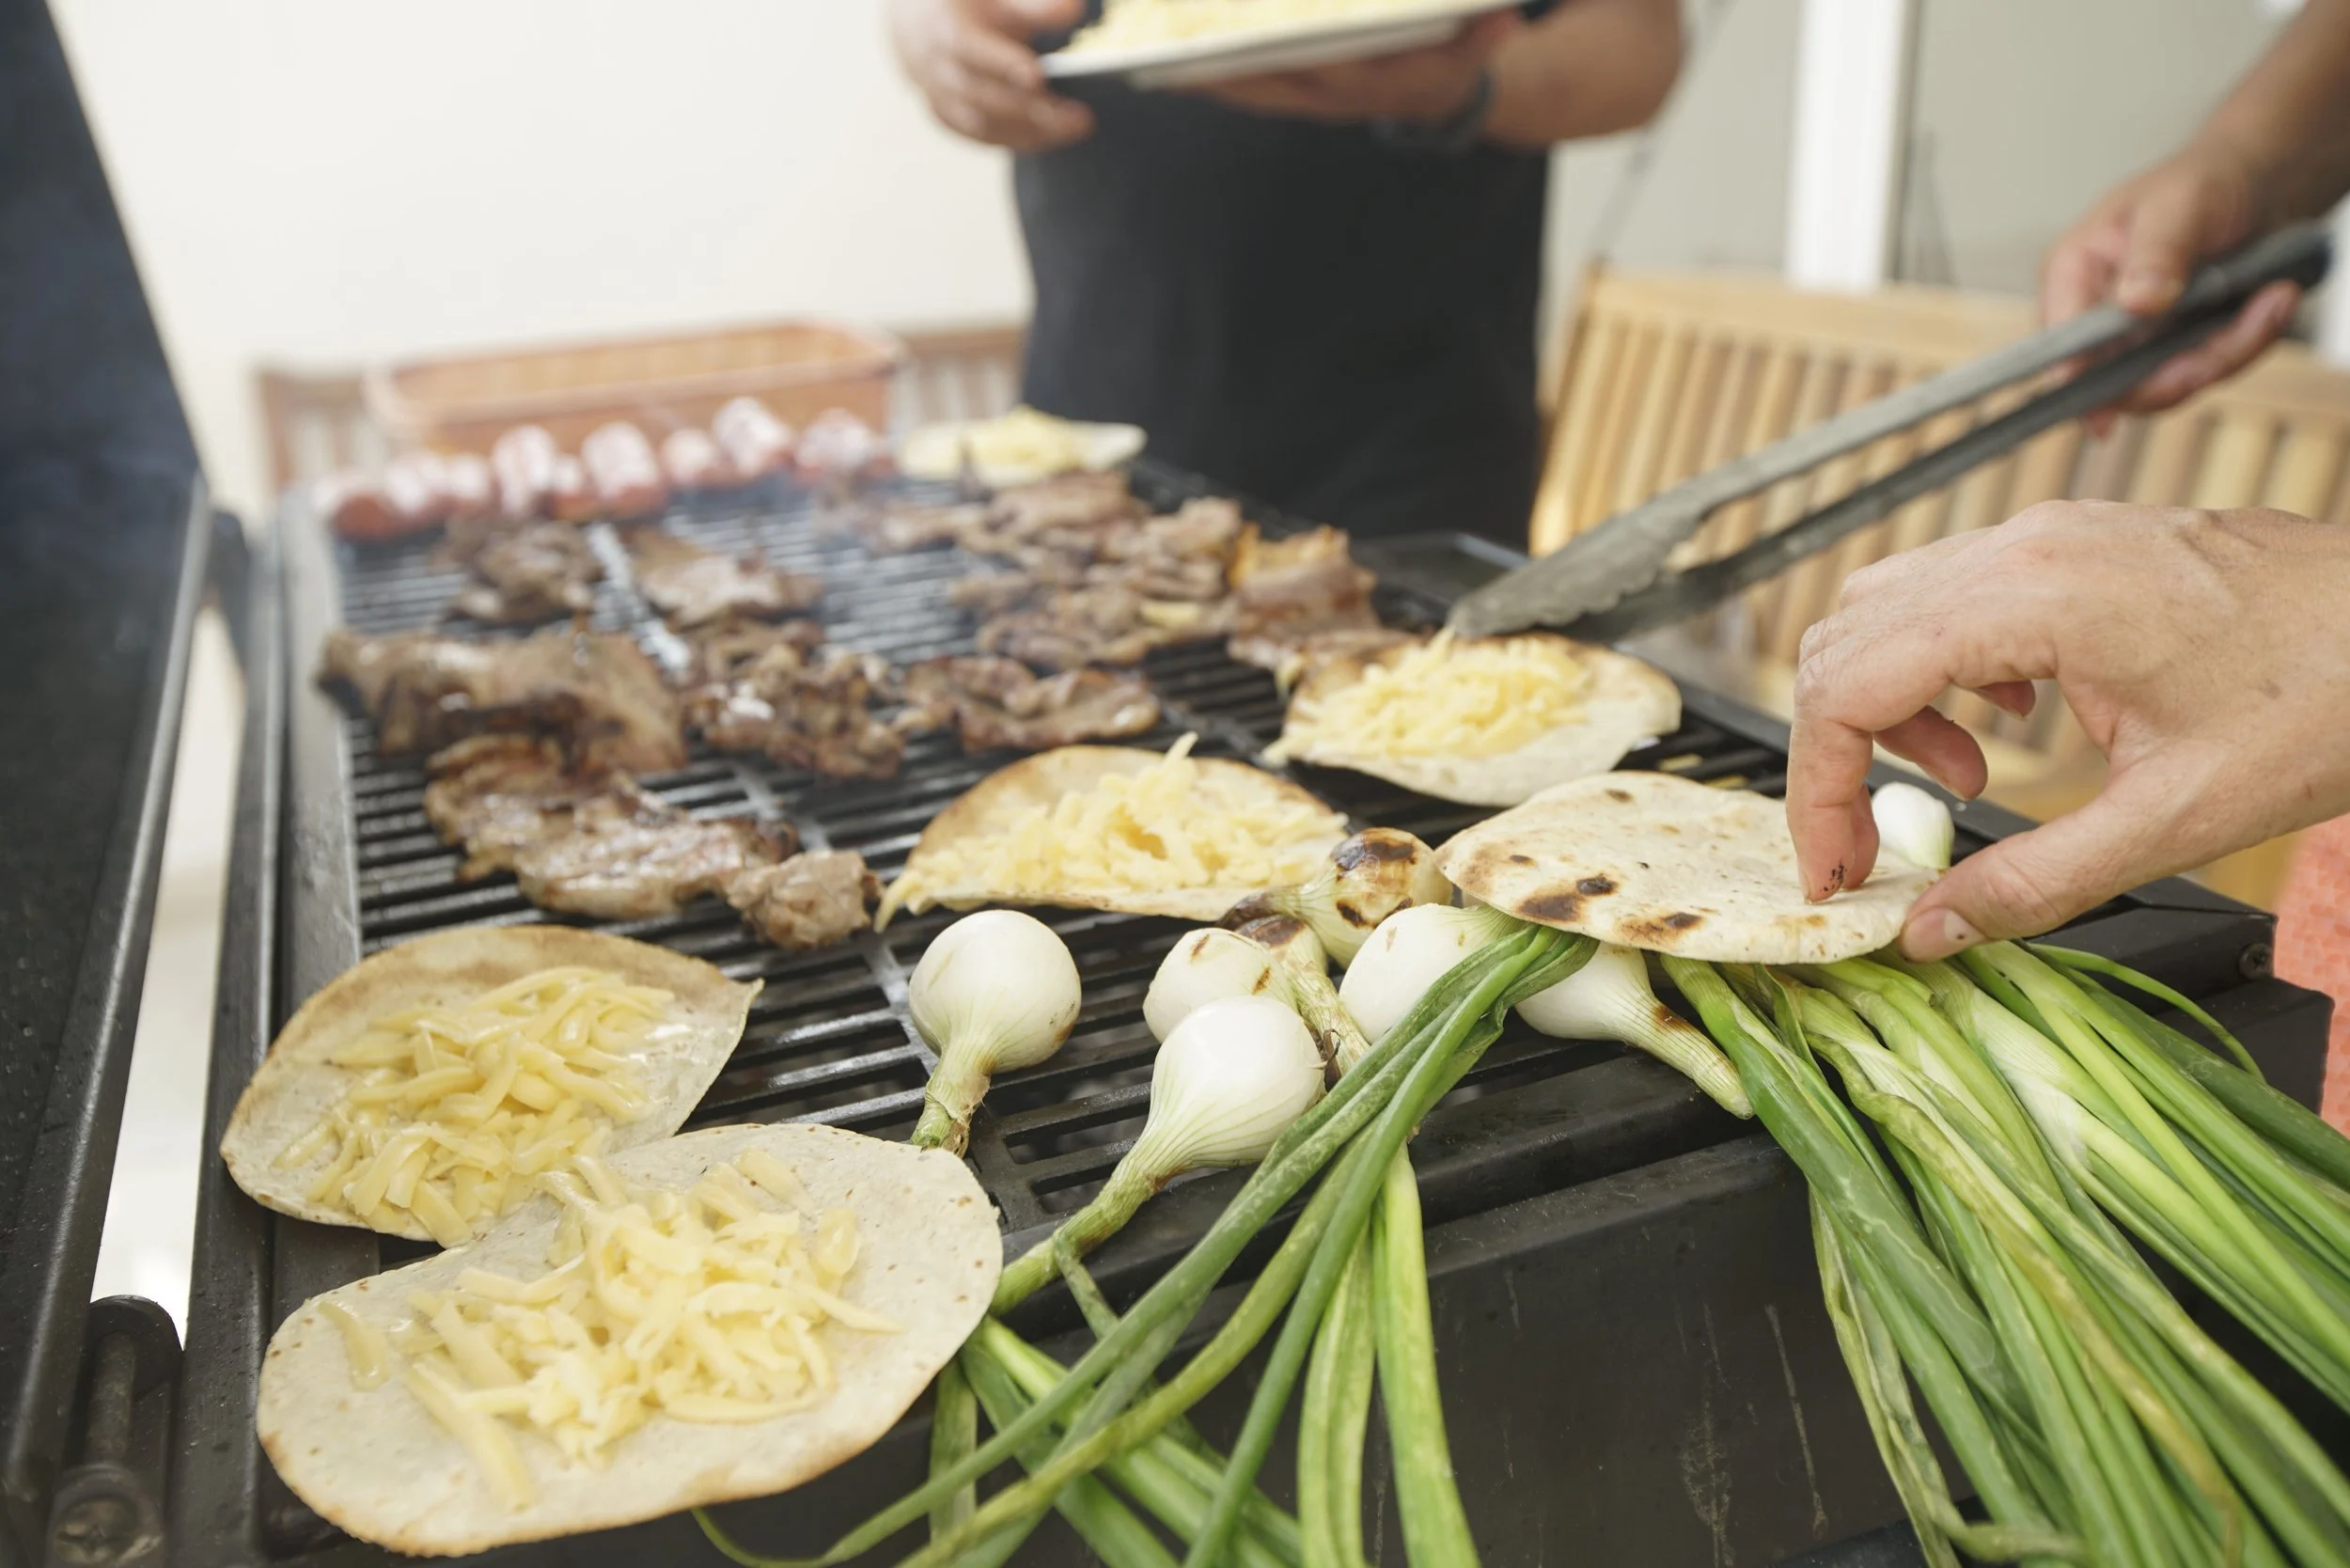
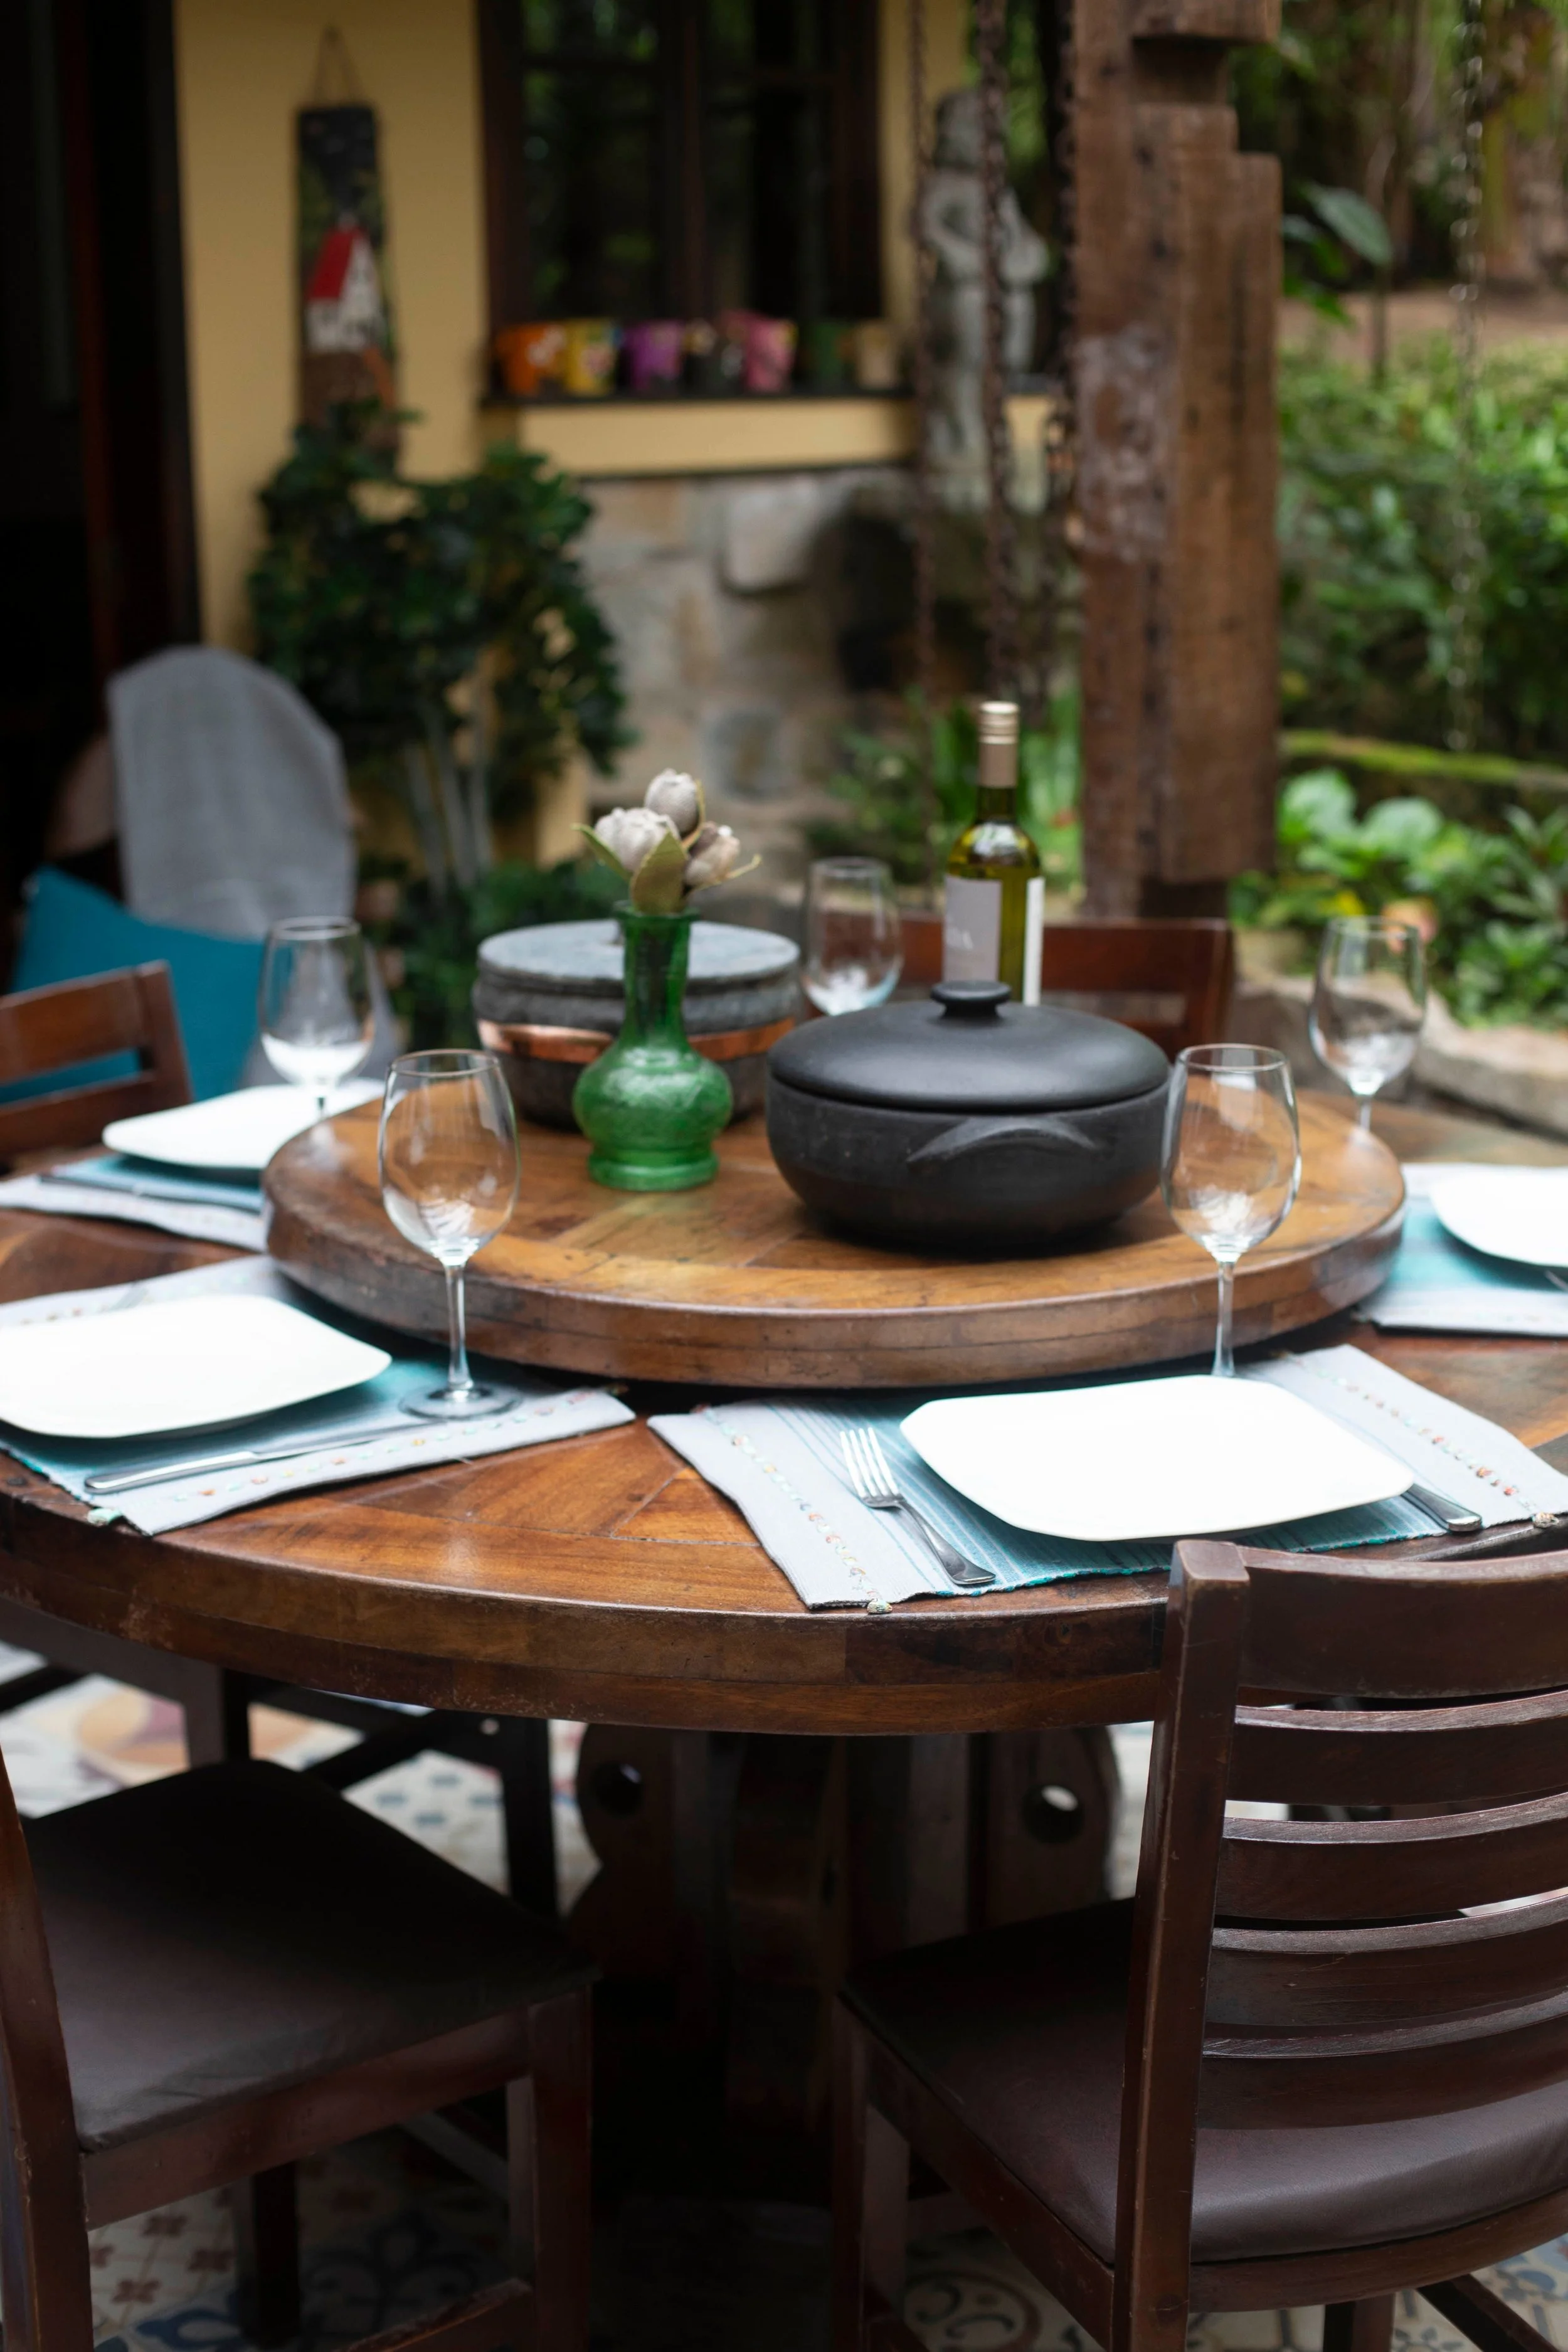
Courtesy of Marco Carlo Gutierrez Aguilar
You don't need every item on this list to grill well — you need the ones that solve the problems you actually have. Start with a thermometer and a decent pair of tongs if you're building from scratch, and add from there.
And while you're getting the outdoor setup ready for the season, don't forget what's working overtime inside: your fridge, freezer, and ice maker are all under more strain in summer heat, keeping everything cold for the cookouts you're planning. If one of them starts slipping, Appliance Rescue Service can get it back on track — so the only decision left is who gets the last burger.